


A well-designed pool landscape does more than look attractive. It manages drainage, controls leaf litter, provides privacy, and creates an outdoor space you can use comfortably across every season. Whether you are planning a new pool in Sydney, working around a plunge pool in Brisbane, or refreshing an existing pool area on the Northern Beaches or in the Southern Highlands, the principles that separate a resolved design from a patchy one remain the same. This guide covers each of them in sequence.
1. Start With Site Analysis, Not Inspiration
The most common mistake in pool landscaping is choosing materials and plants before understanding how the site actually behaves. Orientation, prevailing wind, soil type, and overlooking all shapes that work. Map these first and the design follows logically.
Sun and orientation
A north-facing pool captures year-round sun in the Australian climate, which is ideal for both water temperature and extending the use season. East or west aspects suit morning or afternoon use respectively. South-facing pools are cooler and need careful shade management to retain what warmth is available.
Prevailing wind
Wind removes heat from pool water through evaporation and deposits debris continuously. Identify the prevailing wind direction for your site and plan a windbreak accordingly. Layered planting, a slatted screen, or a rendered wall on the windward side all reduce both evaporative heat loss and maintenance.
Soil type and drainage
Clay soil, common across much of coastal NSW and the Southern Highlands, holds water and requires a tailored sub-base beneath paving to prevent heave and cracking. Sandy soils drain freely but can shift under paving loads. Reactive soils need expansion joints at paving and coping junctions. Identify overland flow paths in heavy rain and ensure they lead away from the pool zone, not into it.
Privacy and overlooking
Before planting or fencing is designed, note which neighbouring windows, first-floor balconies, or elevated structures have direct sightlines into the pool area. Screening should be positioned and sized to address those specific sightlines without blocking useful views from inside the home or closing the space unnecessarily.
2. Pool Surround Materials: What to Use and Why
The paving or decking around a pool is not just a visual decision. It determines how safe the surface is underfoot when wet, how hot it gets in a NSW or Queensland summer, and how much ongoing maintenance the area will demand. Materials should be selected for all three, not aesthetics alone.
| Material | Wet Slip Rating | Summer Heat Underfoot | Ongoing Maintenance | Climate and Style Fit |
| Sandstone pavers | High (textured surface) | Moderate | Seal every 2 to 3 years | Coastal, traditional, rural NSW |
| Travertine pavers | High (honed finish) | Low (pale tone) | Seal periodically | Mediterranean, formal garden |
| Brushed concrete | High | Moderate to high in dark finishes | Very low | Modern, budget-conscious builds |
| Large-format porcelain | High (specify slip-rated) | Moderate | Very low | Contemporary, urban courtyards |
| Composite decking | High (textured boards) | Moderate | Low | Coastal, compact backyards |
| Hardwood timber decking | Moderate when oiled | Low to moderate | Annual oiling required | Coastal, tropical, classic styles |
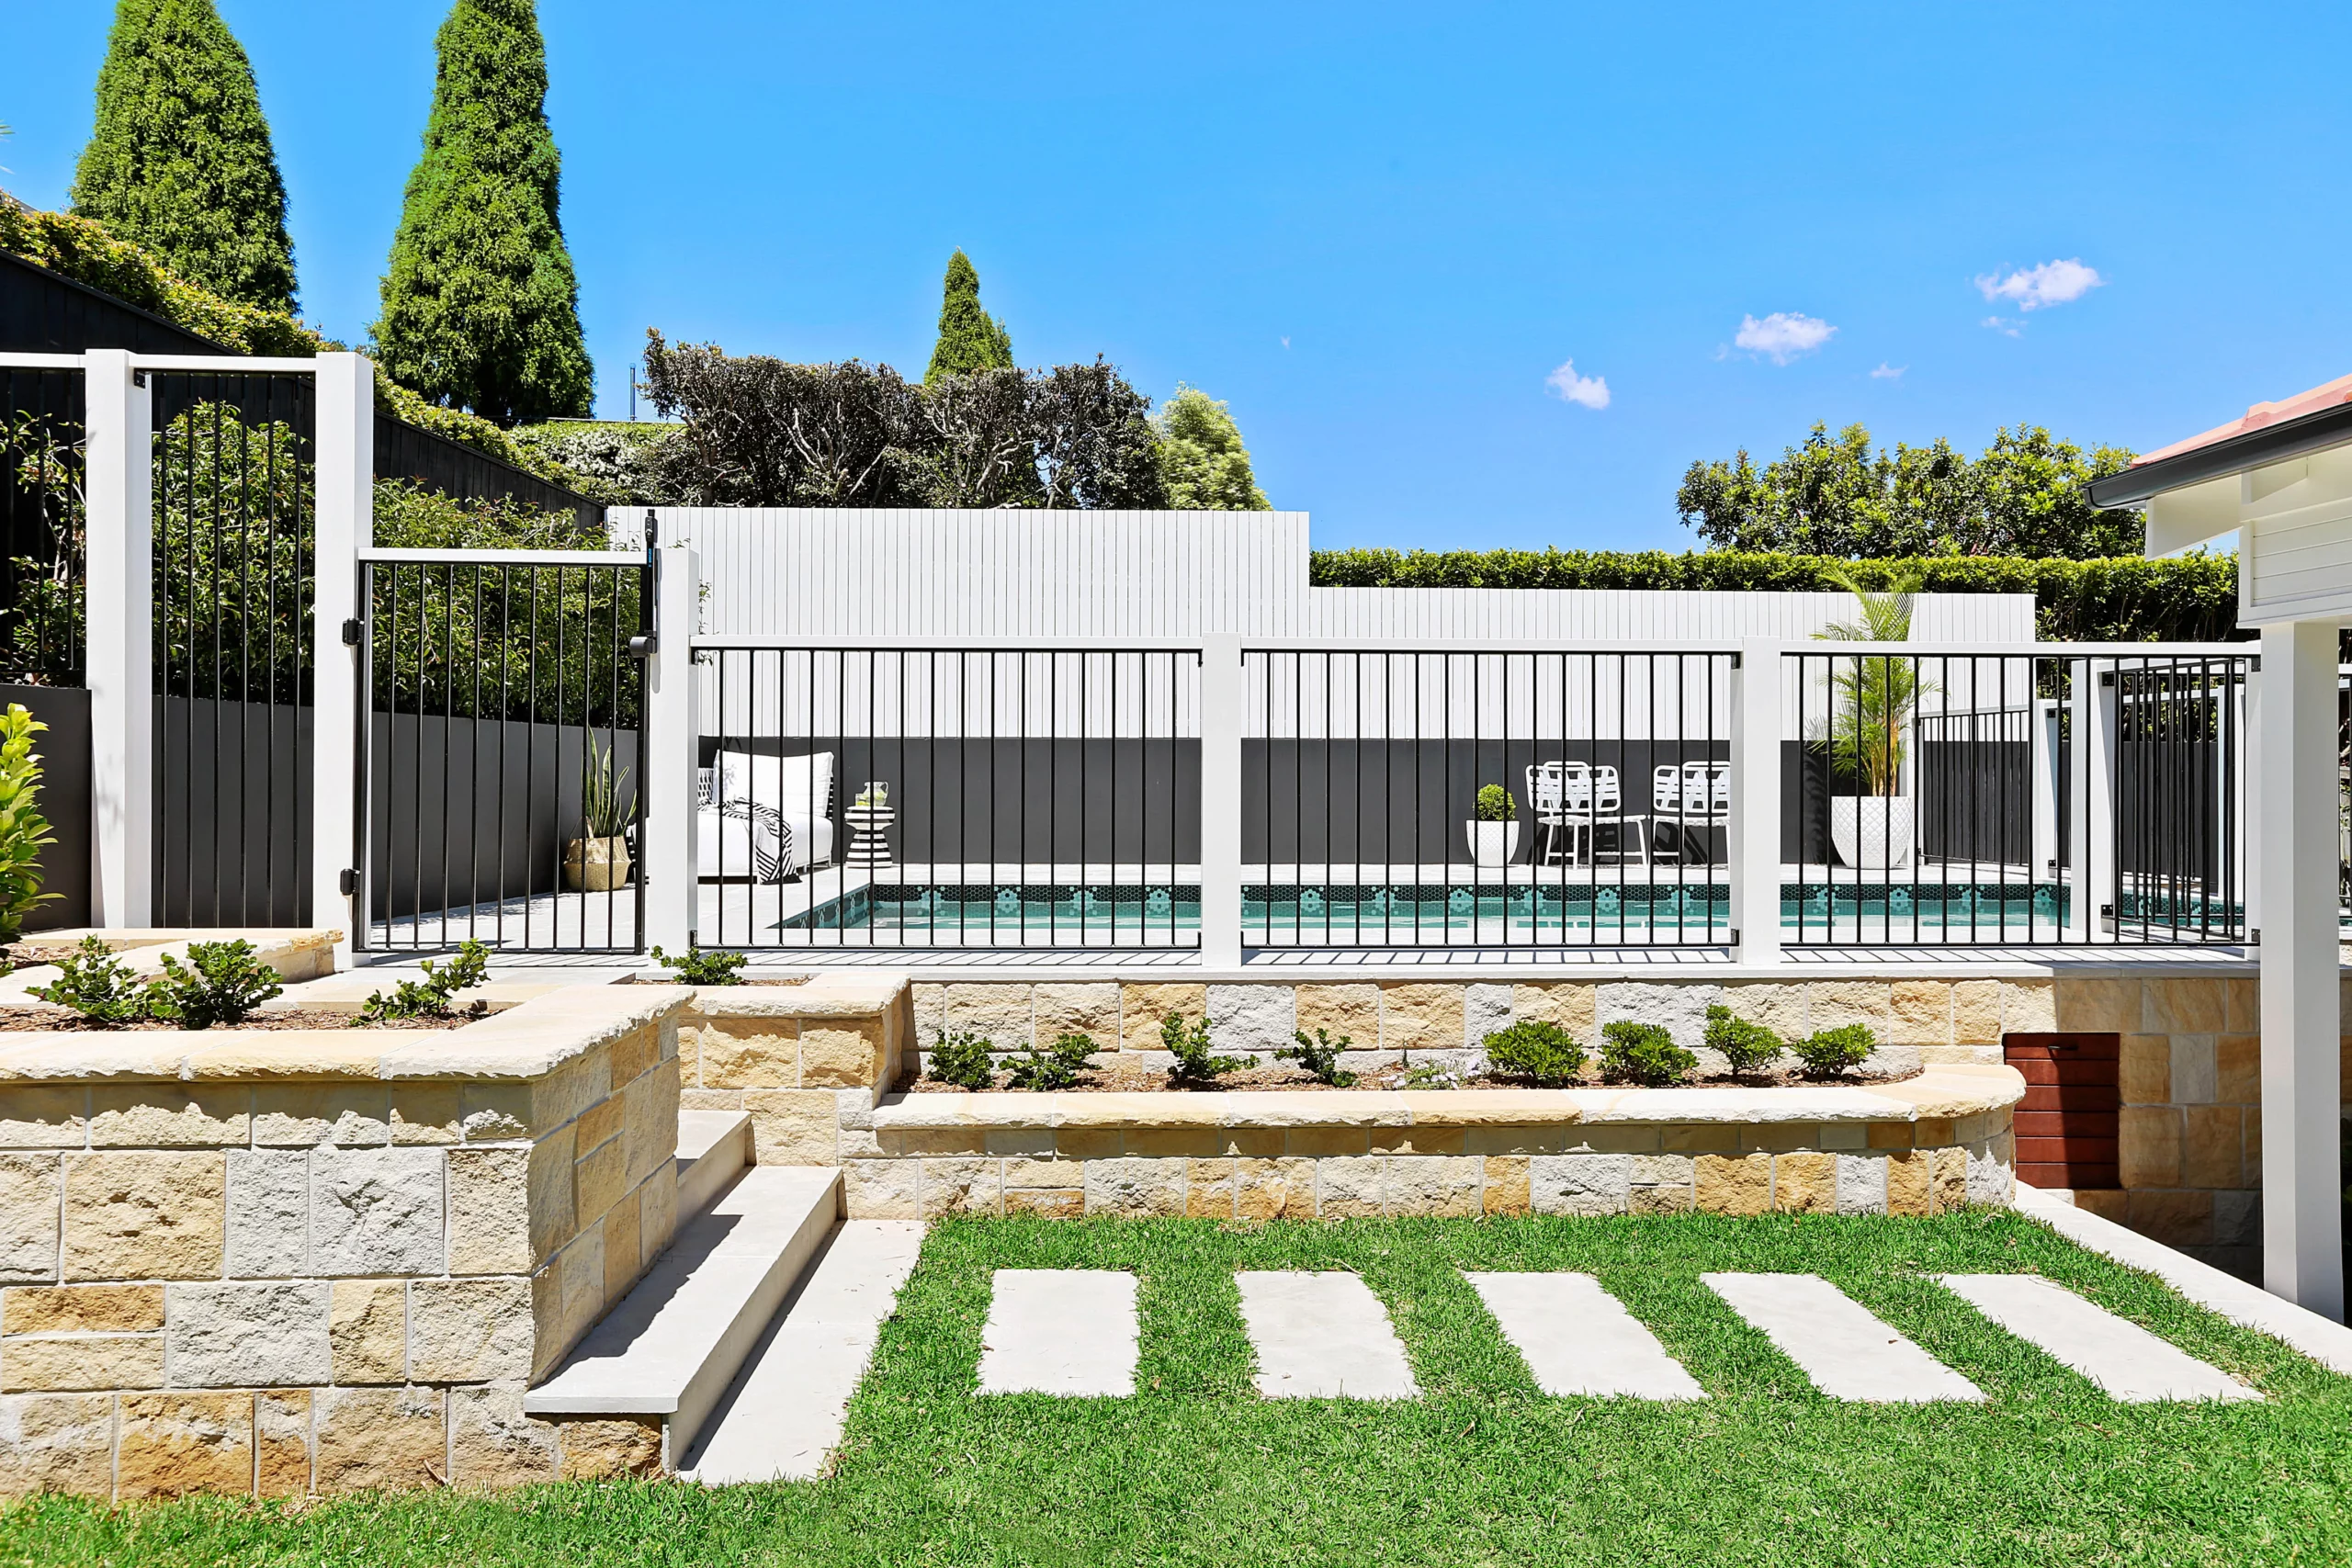
Regardless of material, three design rules apply to every pool surround:
- Paving must fall away from the pool edge. A subtle gradient directs water toward drainage channels rather than pooling on the deck. This is a structural requirement, not a stylistic preference, and must be specified at design stage.
- Light tones are cooler underfoot. Dark pavers in full sun can reach surface temperatures that are genuinely uncomfortable barefoot in a NSW or Queensland summer. Pale sandstone, travertine, and light concrete remain far more comfortable.
- Expansion joints are non-negotiable. Paving and pool coping move independently with temperature changes. Without a proper expansion joint between them, cracking at the pool edge is almost inevitable over time.
3. Choosing Plants for the Pool Surround
Poolside plant selection is more constrained than most garden designs. Every species needs to pass three practical tests before aesthetics are considered: low leaf litter, non-invasive root systems, and tolerance of reflected heat, splash, and occasional chlorine or salt drift. Plants that fail any one of these tests create ongoing maintenance or structural problems regardless of how good they look.
The three-test rule
- Low litter: Plants that drop flowers, berries, seed pods, or heavy foliage near the pool block skimmers, clog filters, and can stain pool interiors over time. Minimising ongoing litter is a maintenance question, not only an aesthetic one.
- Non-invasive root systems: Certain species have root systems that seek moisture aggressively and can travel metres underground before damaging pool shells, coping, underground plumbing, or paving. These must be excluded from the pool zone regardless of their visual appeal.
- Climate and splash tolerance: Plants at the pool edge experience reflected heat from paving, occasional splash with chlorinated water, and higher light intensity than the rest of the garden. Species that prefer shade, moisture, or mild conditions rarely hold up in this microclimate.
Recommended species for NSW and South East Queensland
| Plant | Form | Key Qualities | Where to Use |
| Lomandra longifolia | Clumping grass | Non-invasive, drought-tolerant, very low litter | Pool edge, garden bed borders |
| Agave attenuata | Succulent rosette | Non-toxic spine tips, architectural, near-zero maintenance | Feature planting, rock zones |
| Westringia fruticosa | Low shrub | Native, coastal hardy, low litter, clips well | Low hedges, bed infill |
| Dianella spp. | Clumping grass | Fine texture, heat and drought tolerant, low litter | Edging, mid-layer planting |
| Grevillea (compact cultivars) | Shrub | Low litter, flowering, drought-tolerant, bird-attracting | Garden beds, mid-layer |
| Lilly pilly (Syzygium cultivars) | Shrub to small tree | Dense screening, non-invasive roots, clips well | Privacy screening well back from pool |
| Strelitzia reginae | Clumping perennial | Bold form, low litter, heat-tolerant | Feature pots, focal planting |
| Bangalow palm (Archontophoenix) | Tall palm | Non-invasive roots, low litter, tropical character | Background screening |
Species to exclude from the pool zone
- Ficus species (rubber trees, Moreton Bay fig, Port Jackson fig): Highly invasive roots. A documented risk to pool shells, underground plumbing, coping, and surrounding paving. SPASA Queensland notes that planting invasive-root species near a pool can void pool builder warranties.
- Umbrella trees (Schefflera actinophylla): Invasive root system and persistent berry litter. Classified as an invasive plant in parts of Queensland.
- Running bamboo (Phyllostachys spp.): Rhizomes spread metres underground before emerging and can destabilise paving, coping, and plumbing. Clumping bamboo (Bambusa spp.) in a detailed root barrier is an acceptable alternative where a tropical screen is needed.
- Camphor laurel and weeping willow: Both produce heavy litter and have moisture-seeking root systems that can reach underground plumbing at significant distances.
- Fruiting and heavy-flowering trees (cherry, plum, jacaranda): Persistent flower and fruit drop clogs filters, stains pool interiors, and creates ongoing surface maintenance around the pool deck.
4. Poolside Planting Design: Layering, Screening and Focal Points
Once the species shortlist is settled, the design work begins. The goal is planting that holds together as a composition year-round, manages privacy without closing the space in, and gives the eye somewhere to settle. These are design decisions, distinct from the species-selection criteria covered above.
Layer the palette in three bands
The most resolved pool gardens organise planting into three spatial layers: a tall background layer for year-round mass and privacy screening, a mid-layer of shrubs and grasses that brings texture and seasonal interest, and a low edge layer that anchors the beds cleanly to the paving. Two or three species repeated through each layer reads as intentional. A mix of ten different species, one of each, reads as unplanned regardless of the individual plants chosen.
Establish a single focal point
Every pool zone benefits from one element that anchors the whole composition. This might be a specimen tree, a structured wall, a water feature spilling into the pool, a large sculptural pot, or a pergola. In a compact courtyard, the pool itself can serve this role. Avoid two competing focal elements: the eye has nowhere to settle, and the space reads as cluttered rather than considered.
Screen selectively, not uniformly
Most pool areas need some degree of privacy treatment, but solid screening on every boundary creates an enclosed, hot, low-airflow space. Map the specific overlooking points identified in the site analysis (Section 1) and address those directly. A layered planting solution, taller behind and shorter in front, filters sightlines while maintaining air movement and spatial generosity.
5. Shade Design for Pool Areas
Shade around a pool is a design decision that affects water temperature, surface comfort, and how many months of the year the outdoor space is genuinely usable. Too much fixed shade reduces pool water temperature and makes the surround feel enclosed. Too little leaves the seating zone unusable during the hottest part of the day. A landscape architect coordinates shade structures, planting, and pool orientation as part of the integrated pool landscape plan.
Pergolas and overhead structures
A pergola positioned at the poolside seating zone, with a retractable fabric panel, climbing plant, or fixed louvred roof, provides flexible overhead protection without casting permanent shadow over the pool water. Materials suitable for the Australian outdoor environment include hardwood timber, steel, and powder-coated aluminium. The structure should be positioned so it does not shade the pool itself during morning or afternoon swim hours.
Shade sails
Shade sails are cost-effective and versatile but require anchor points and footings to be planned and built during the construction phase. Retrofitting anchor posts through finished paving is expensive and disruptive. Overlapping multiple smaller sails provides more even coverage than a single large sail and gives better wind performance.
Deciduous trees
A well-placed deciduous tree positioned to shade the seating area in summer while allowing winter sun to reach the pool is one of the most practical long-term shade solutions in temperate Australian climates. The annual leaf drop is a single maintenance event, not a year-round problem, provided the tree is positioned so leaf fall does not land in the pool itself. Chinese pistache, Manchurian pear, and ornamental plum suit the Southern Highlands and NSW tablelands climate well.
6. Pool Fencing and Compliance in NSW
Pool fencing in NSW is governed by the Swimming Pools Act 1992 and associated regulations. Designing the landscape around the fence requirements from the start, rather than fitting the fence into a completed landscape, avoids expensive retrofitting and produces a better result spatially.
Key NSW requirements
- Fence height: Pool barriers must be at least 1200mm high on the outside face. Some local councils specify greater heights in particular situations.
- The 900mm non-climbable zone: No climbable object can be placed within 900mm of the outside face of a pool fence. This includes garden furniture, retaining walls, raised planter boxes, and landscaping features. It is the requirement most frequently overlooked in pool landscape design and must be mapped before the landscape plan is finalised.
- Gate specification: Pool gates must be self-closing and self-latching, opening away from the pool. Gate position should align with natural movement paths through the garden to ensure they are used correctly.
- Pool registration: Pools in NSW must be registered on the NSW Swimming Pool Register and are subject to periodic council inspection. Factor compliance timelines into the project schedule when planning a new pool landscape.
Glass fencing and visual integration
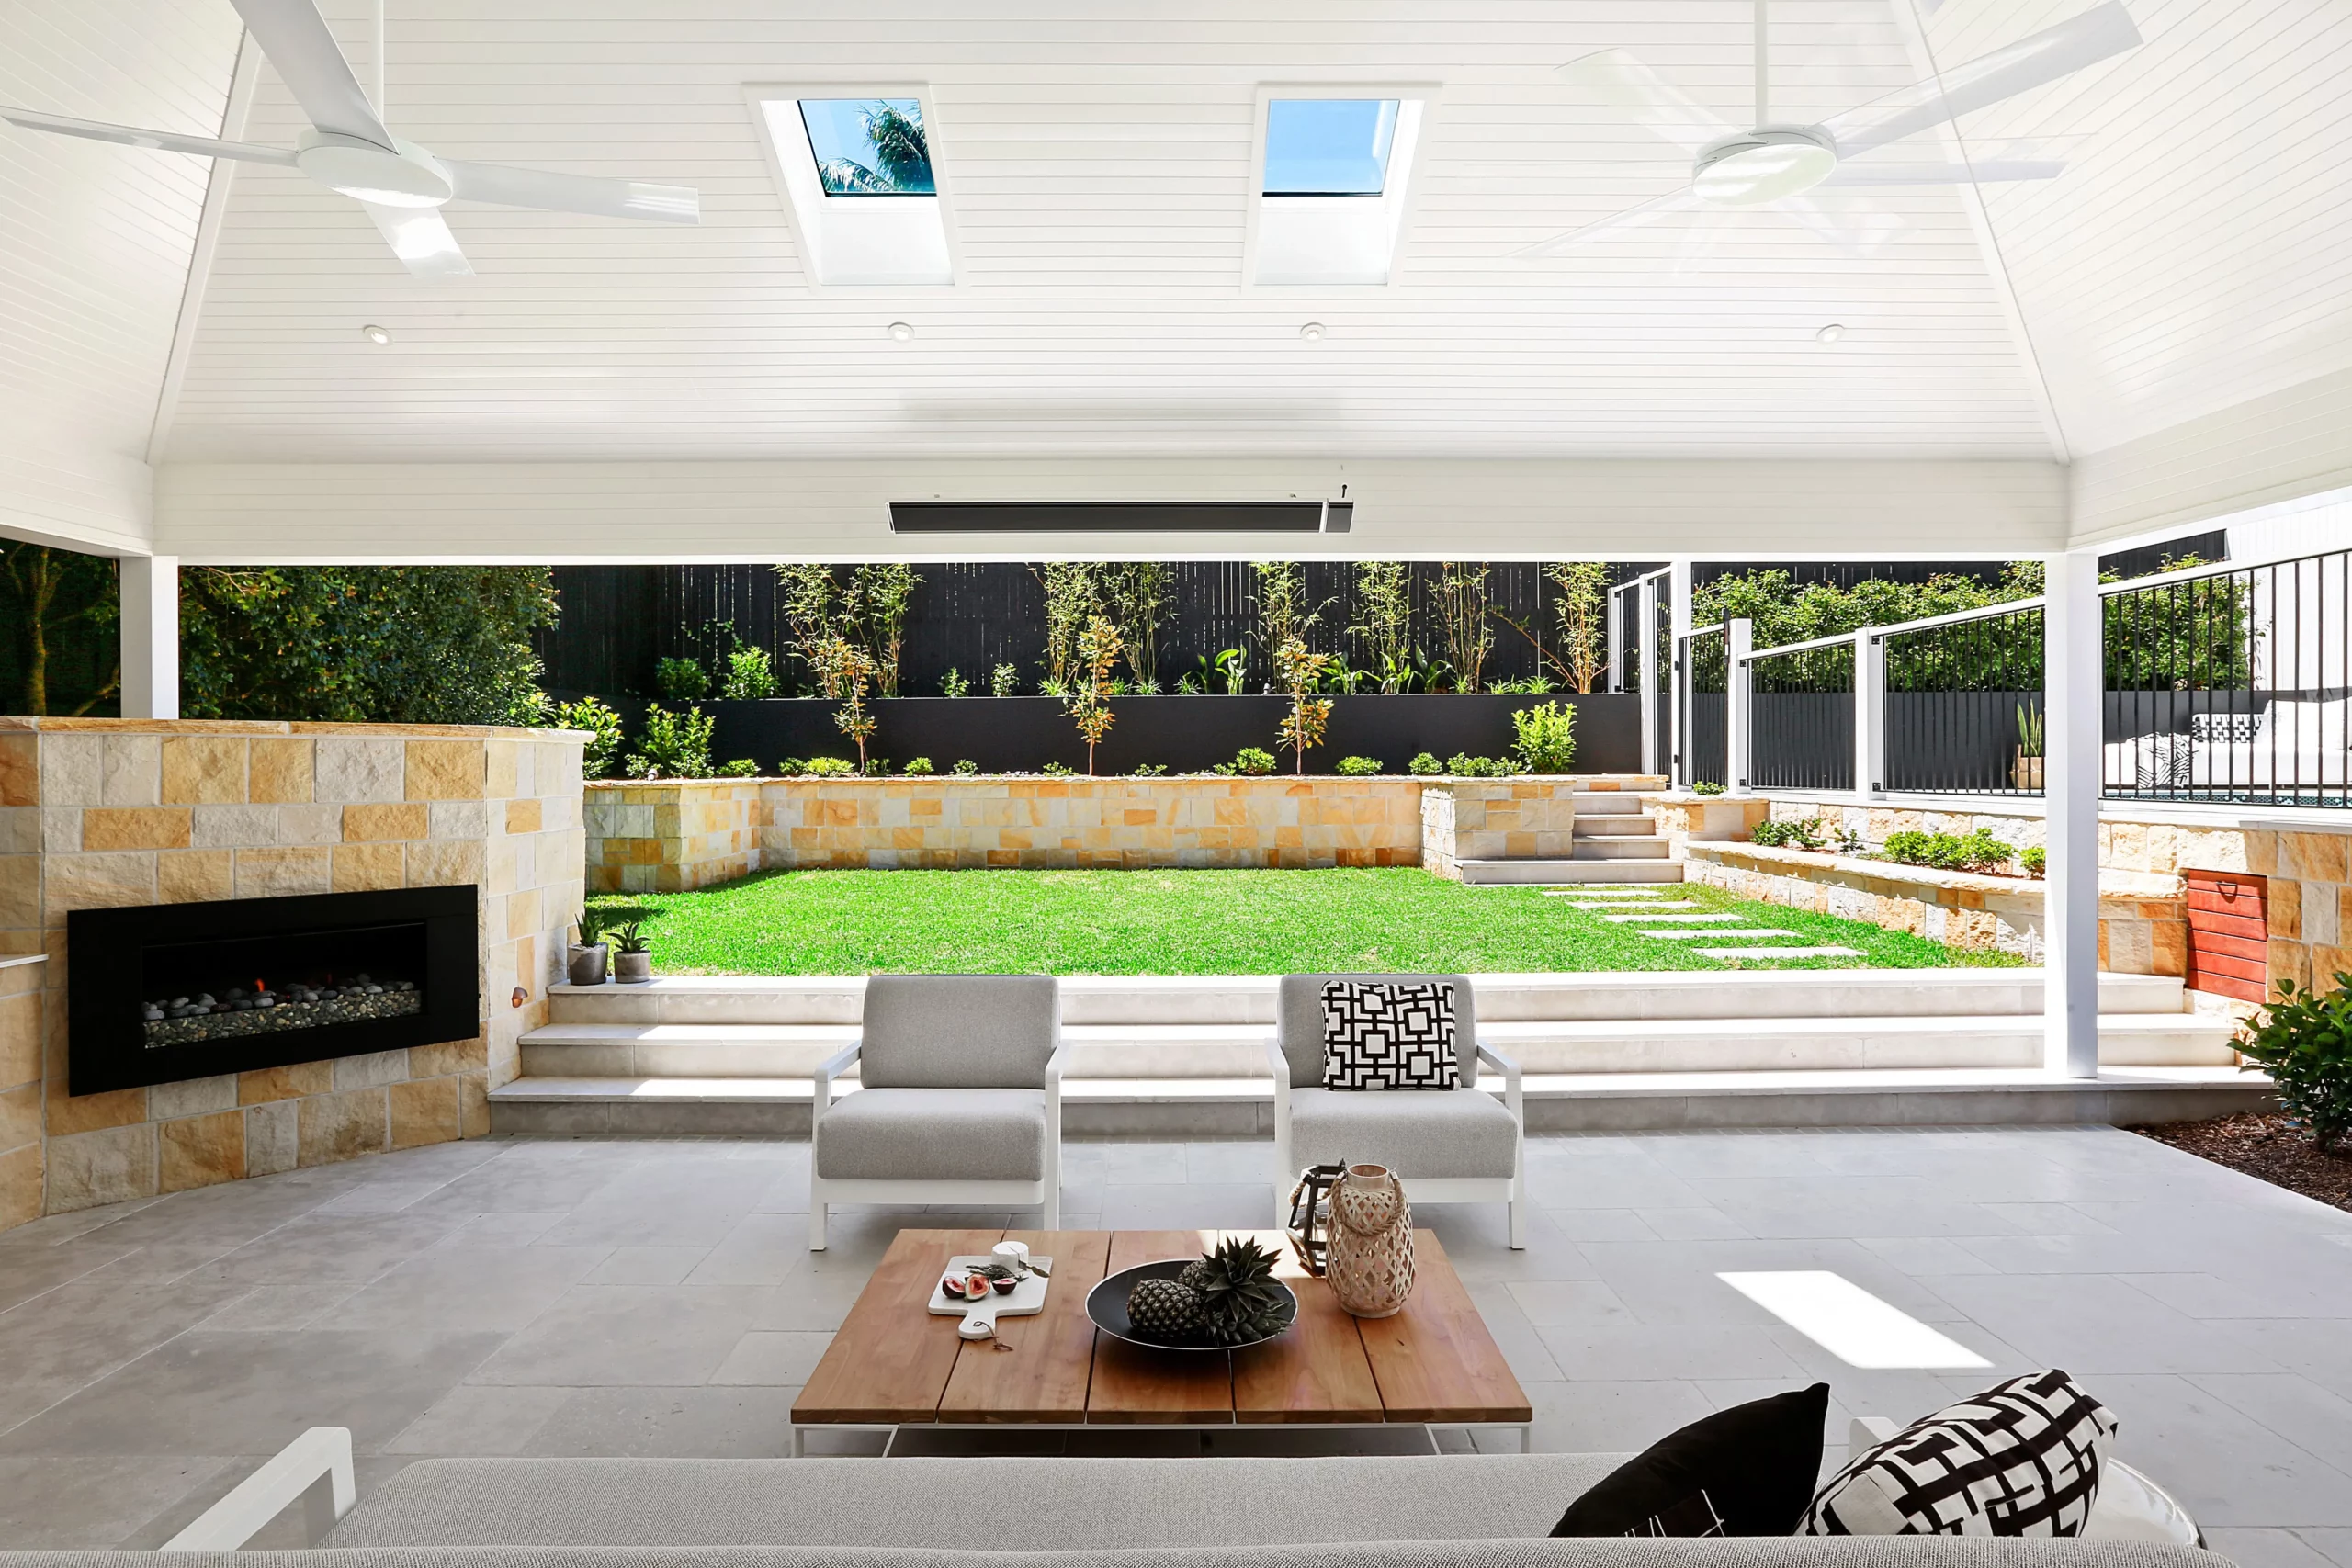
Frameless or semi-frameless glass pool fencing preserves sightlines from the house and suits both contemporary and formal landscape design styles. Spigot positions and footings must be coordinated with subsurface drainage, irrigation lines, and plumbing from the outset. Fitting glass panels after drainage and irrigation are installed often requires core-drilling through finished paving, which creates both cost and waterproofing risks.
7. Drainage Design for the Pool Zone
Poor drainage is one of the most common causes of long-term problems in pool landscapes: paving failure, cracking at coping joints, waterlogged planting beds, and structural movement behind retaining walls. These are not maintenance issues; they are design failures that become expensive to rectify once construction is complete.
Surface falls and strip drains
Paving around the pool should be laid with a consistent fall of between 1:100 and 1:50 away from the pool edge. Strip drains or channel drains at the outer edge of the pool deck intercept runoff before it reaches garden beds or neighbouring paving. Their position, invert level, and connection to the stormwater system must be specified in the landscape plan before construction, not resolved on-site.
Subsoil drainage for garden beds and walls
Garden beds adjacent to the pool area, particularly those behind retaining walls or raised planters, need subsoil drainage to prevent water build-up and hydrostatic pressure against wall structures. A perforated ag pipe set in gravel at the base of the bed, connected to a sump or kerb outlet, is the standard approach for most NSW residential sites.
Stormwater management on sloping and coastal sites
On sloping blocks, Northern Beaches properties, and coastal Queensland sites where intense summer rainfall is common, a broader stormwater management strategy may be required as part of the landscape design. Runoff from pool surrounds, roof drainage, and garden areas must be directed to an approved outlet without causing nuisance or damage to neighbouring properties. Council requirements for stormwater connection vary; checking with the relevant authority before finalising the design is advisable.
8. Pool Lighting: Extending the Use of the Space
Thoughtful lighting converts a pool area from a daytime amenity into a space that works across the full day. The most effective pool lighting layers three or four distinct source types at varying heights, rather than relying on a single fitting type. Planning cabling and conduit during the construction phase is essential; retrofitting electrical services through finished paving is both costly and disruptive.
Underwater lighting
LED underwater lighting is standard in most contemporary Australian pools. A warm white setting (approximately 2700K to 3000K) is the most flattering for evening entertaining and gives the water a clean, inviting appearance. Colour-changing RGB settings are available in most LED pool lights but are most effective used sparingly for specific occasions rather than as the default.
Ambient and garden lighting
Low-level path markers and step lights make wet paving surfaces safe after dark, particularly important at level changes around the pool surround. Uplights at the base of structural plants or screening hedges add depth and make the garden appear larger at night. Wall washers across rendered screening walls or feature panels reduce the visual weight of those surfaces in the evening.
Structure and seating area lighting
Recessed downlights in pergola beams, festoon lighting across a seating zone, or wall-mounted lanterns at an outdoor dining area extend the functional use of the covered pool area well into the evening. The most common lighting mistake is over-specification: a high number of evenly placed fittings produces a flat, undifferentiated effect. Three or four carefully positioned fittings at different heights and distances create far more atmosphere than a uniform grid.
9. Designing for Low Maintenance
Low-maintenance pool landscaping is an outcome of good design decisions, not a particular aesthetic style. Most ongoing maintenance problems around pools trace back to choices made at the design and construction stage: inadequate drainage, inappropriate species, poorly detailed bed edges, or equipment with no accessible service path.
Irrigation and mulch
Drip irrigation on a programmable timer, with emitters below or at soil level within garden beds, is the most effective way to keep poolside planting healthy without human input. It keeps pool paving dry by delivering water directly to root zones rather than overhead. A 75mm layer of coarse mulch (bush chip or wood chip) across all garden beds suppresses weeds, retains moisture, and reduces watering frequency by a significant margin.
Bed edges and paving definition
Clear, defined edges between garden beds and paving dramatically reduce ongoing maintenance time. Flush-set steel edging, stone borders set level with the paving, or a defined mowing strip all prevent the boundary between hard and soft surfaces from becoming ragged and requiring constant re-edging. The cleaner the edge detail, the less time the garden requires to look resolved.
Equipment access
Pool equipment (pumps, filters, heat pumps, chlorinators) requires physical access for servicing, filter cleaning, and eventual replacement. Equipment areas screened by dense planting or enclosed behind panels without a clear service path become a persistent maintenance inconvenience. Build a minimum 600mm clear path to equipment on at least one side into the landscape plan from the start.
10. Plunge Pools and Small Backyard Design
Compact backyards and plunge pools present a distinct set of design constraints. With a smaller pool footprint, there is proportionally more outdoor living space to work with, but every square metre is doing double duty. The spatial sequencing between pool, deck, seating, planting, and storage becomes the primary design challenge, rather than the plant selection or material palette choices that dominate larger sites.
Spatial sequencing in compact sites
In a small backyard, the movement from the house to the pool and from the pool to any seating area needs to feel natural without the paving becoming a confusing series of disconnected zones. Map the sequence of use before designing any individual element: where does someone step out of the house, where do they leave towels, where do they sit after a swim, and where is the pool equipment housed? The landscape plan resolves all of these in one spatial arrangement.
Stage the build, not the design
Cost is usually the reason small backyard pool landscapes are staged across multiple years. The design, however, should be resolved in full before construction begins. Pre-run electrical conduit, irrigation pipe, and drainage to locations that will be used in a later stage. Structural elements like retaining walls and fence footings that would be expensive to retrofit should be built in the first stage even if planting and furniture follow later.
Vertical space and contained planting
Where garden bed area is limited, vertical planting on a wall-mounted frame or trellis panel brings greenery and screening without using floor area. Large structural pots positioned at key visual points (entry to the pool zone, corner of the fence line, end of a sightline) deliver presence and height without requiring garden bed construction or ongoing root management.
11. When to Make Each Decision: A Sequencing Guide
One of the most useful things a landscape architect brings to a pool project is sequencing clarity: knowing which decisions must be made before construction begins, which can wait until construction is underway, and which can be staged without compromising the long-term result. Getting the sequence wrong is the primary cause of costly retrofitting and compromised outcomes.
| Stage | Decisions to Lock In | Why They Cannot Wait |
| Before any construction starts | Site analysis (sun, wind, soil, drainage), fence layout and 900mm non-climbable zone, drainage falls and outlet connections, electrical conduit routes for lighting, irrigation main lines, equipment placement and service access | These are structural and require groundwork. Changing them after paving is laid is expensive and often means breaking finished surfaces. |
| During pool construction | Paving falls specified to builder, strip drain positions and invert levels, spigot and fence footing locations, conduit for pool lighting, pre-plumbing for future water features or outdoor shower | These require coordination with the pool builder before concrete is poured or formwork is removed. |
| After pool shell is complete | Paving and coping selection, deck structure, pergola or shade sail footings, primary planting beds and soil preparation, irrigation installation | These depend on confirmed pool dimensions and finished levels. They can begin as soon as the pool shell is waterproofed. |
| Staged in year two or beyond | Additional planting, feature lighting, water feature, built-in furniture, shade structure upgrades | These are additive rather than structural. Pre-running services in stage one allows them to be added without disruption. |
Pool landscaping is most effective when the site analysis, drainage brief, planting design, compliance requirements, and construction sequence are resolved as one integrated plan rather than assembled from separate trade decisions. That integration is what landscape architecture brings to a pool project.
Nicholas Bray Landscapes works with homeowners, builders, and developers across Australia. If you are planning a new pool or improving an existing pool area, contact us to discuss the site and what is achievable.
Frequently Asked Questions
What is the safest paving material around a pool in Australia?
Any paving used around a pool should carry a wet-area slip-resistance rating appropriate for bare feet. Textured sandstone, honed travertine, brushed concrete, and slip-rated large-format porcelain all perform well. The slip rating matters more than the material category; a smooth-finished stone in an unrated grade is hazardous when wet regardless of its appearance.
How far should trees and shrubs be planted from a pool?
For low-growing clumping plants such as lomandra or dianella, proximity to the pool edge is generally not a structural concern provided litter is minimal. For trees and large shrubs, a clearance of at least 3 to 5 metres from the pool edge is a useful starting point, scaled to the mature size of the species. Plants with documented invasive root systems should be excluded from the entire pool zone regardless of distance.
Which plants are most likely to damage a pool structure?
Ficus species (including rubber trees, Moreton Bay figs, and Port Jackson figs), umbrella trees (Schefflera actinophylla), running bamboo, weeping willows, and camphor laurel all have root systems documented as damaging to pool shells, underground plumbing, and paving. SPASA Queensland notes that planting invasive-root species near a pool may void pool builder warranties. None of these should be within the pool zone.
What does the 900mm non-climbable zone mean for my garden design?
It means a 900mm wide strip on the outside of your pool fence must remain clear of anything a child could use to climb over the fence. This includes garden furniture, retaining walls, raised planter boxes, storage, and any landscaping feature. It is a mandatory requirement under NSW pool safety regulations and must be mapped in the landscape plan before finalising bed locations, planter positions, and furniture placement.
Do I need a landscape architect for pool landscaping?
Not for every pool project. Where the site is straightforward, the design brief is simple, and there are no compliance complexities, a capable landscaper can execute the work well. Where the site is sloping, drainage is complex, council DA or CC approval is involved, or the pool needs to integrate with a significant architectural or garden design, a landscape architect adds value by resolving those issues before construction begins rather than during it.
How do I make a poolside garden low-maintenance in practice?
Three decisions have the most impact: choosing species that pass the three-test rule (litter, roots, climate), installing drip irrigation on a timer, and detailing clean edges between beds and paving. Deep mulching of all beds reduces watering and weeding significantly. Equipment must have a clear service path. These are design decisions, not ongoing effort decisions.
Can I add a shade structure or lighting after the pool is built?
Yes, but it is considerably more expensive than planning for it from the start. Adding a pergola after paving is laid usually means drilling through finished surfaces for footings. Retrofitting lighting requires trenching through paving for conduit. Pre-running conduit, footings, and service connections during the construction phase, even if the shade structure or lighting is not installed until later, is the most cost-effective approach.
What screening works best around a pool in NSW?
Lilly pilly (Syzygium cultivars), westringia, murraya paniculata, and clumping bamboo (in a root barrier) all provide reliable poolside screening in NSW conditions. Lilly pilly is particularly consistent: it trims cleanly, has non-invasive roots, tolerates coastal and tablelands conditions, and maintains density year-round. The right choice depends on the specific climate zone, soil, and the degree of screening required.
Is pool landscaping different for a plunge pool versus a standard pool?
The material and plant selection principles are the same. The design challenge is different. A plunge pool leaves more garden area available but compresses the spatial sequence into a smaller footprint. Getting the movement from house to pool to seating area to work naturally in a tight space is the primary design problem. Equipment placement and storage also demand more careful integration when there is less room to conceal them.
Planning your garden?
Talk to Nicholas Bray about your property.
Tell us a little about your site and what you have in mind, and we’ll be in touch to arrange a consultation.
Prefer to talk? Call 0417 278 267

About the author
Nicholas Bray, Registered Landscape Architect (RILA 958, AILA)
Nicholas Bray is the principal of Nicholas Bray Landscapes, a landscape architecture and construction business based in Moss Vale in the Southern Highlands. With 25 years of experience across landscape architecture, horticulture and environmental planning, he designs and builds gardens for large acreage estates, rural properties, vineyards, schools and commercial sites throughout the Southern Highlands, Central and Southern New South Wales.
Nicholas studied landscape architecture in Australia and Canada, and horticulture at the Royal Horticultural Society’s garden at Wisley in the United Kingdom. He has worked at the Hanbury Botanical Gardens in La Mortola, Italy, and completed projects in Spain, the United Kingdom, Singapore and Canada.
His work balances the built and natural environments with site specific planting, stonework, pools and water features, and he is well known for guiding complex landscape plans through council approval.